HMI Editor
HMI Editor
Section titled “HMI Editor”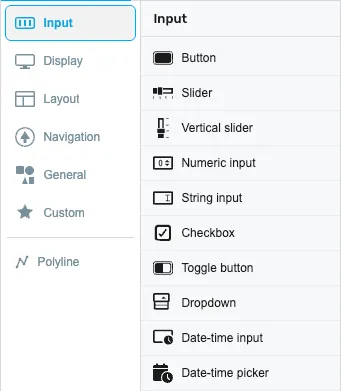
In Tools you can see all available controls grouped into categories. You can drag & drop them onto the drawing area and configure them.
A search box at the top of the Tools panel lets you filter the available controls by name. Start typing the name of a component and the list narrows to the matching controls, so you can find a tool without scrolling through every category. Clear the search box to show all categories again.
Shortcuts
Section titled “Shortcuts”![]()
The shortcuts allow quick actions like backgating, repeat, clear artboard, show HTML code, or show/hide grid.
Drawing area
Section titled “Drawing area”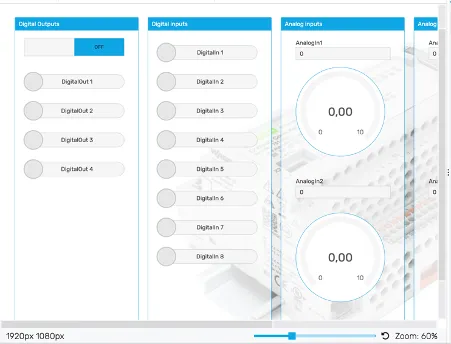
All controls can be placed in the drawing area and positioned using drag & drop.
Configuration bar
Section titled “Configuration bar”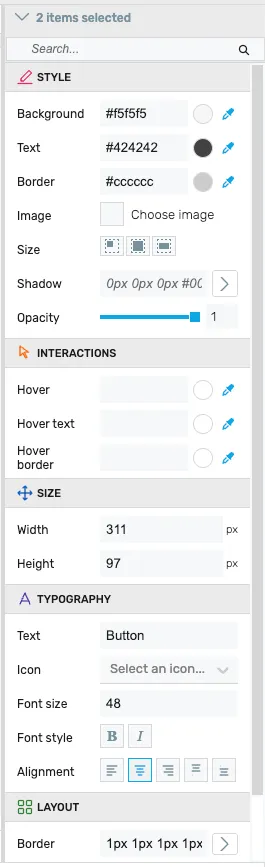
In the configuration bar you can edit the properties of the selected controls.
Layer overview
Section titled “Layer overview”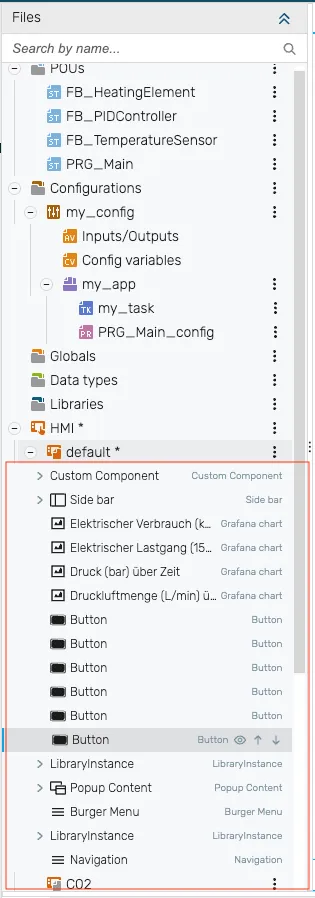
Here you can see all the elements as layers on the artboard. Via Position you can place them in front of or behind each other. The layer overview sits in the project tree under each page node.
Responsive breakpoint footer
Section titled “Responsive breakpoint footer”In a responsive HMI, a breakpoint footer runs along the bottom of the editor. Its left side holds a tab per breakpoint (showing each breakpoint’s name and width×height) plus buttons to add and edit breakpoints; its right side holds the canvas zoom controls (zoom-out, slider, percentage reset, zoom-in). Click a tab to switch the canvas to that breakpoint and lay out components for that size.
This footer only appears for responsive HMIs — in legacy resolution-folder projects it is hidden. For the full responsive workflow (the configure-once principle, per-breakpoint placement/offsets/hide, and how the runtime chooses a layout) see Responsive breakpoints.