Projects Plc Lifecycle
Take a PLC-only project from nothing to a built artifact: create the project, open it in the IDE, author IEC 61131-3 logic, and build it.
Before you start
Section titled “Before you start”- Prerequisites: A signed-in account in an organization that allows project creation.
- Required role/permission: An Editor/Admin-level role. Viewers cannot create, edit, or build projects (see Viewer (read-only) overview).
- Settings that affect behavior:
- Project type = PLC only — chosen at creation; it determines the project structure (POUs, type definitions, global variables, configuration) and, unlike PLC with HMI, omits the HMI section. See Project types.
- Project access — project-level access controls who can open and edit it (see Project access).
- Licensing — building/deploying may consume licensed features; see Licensing.
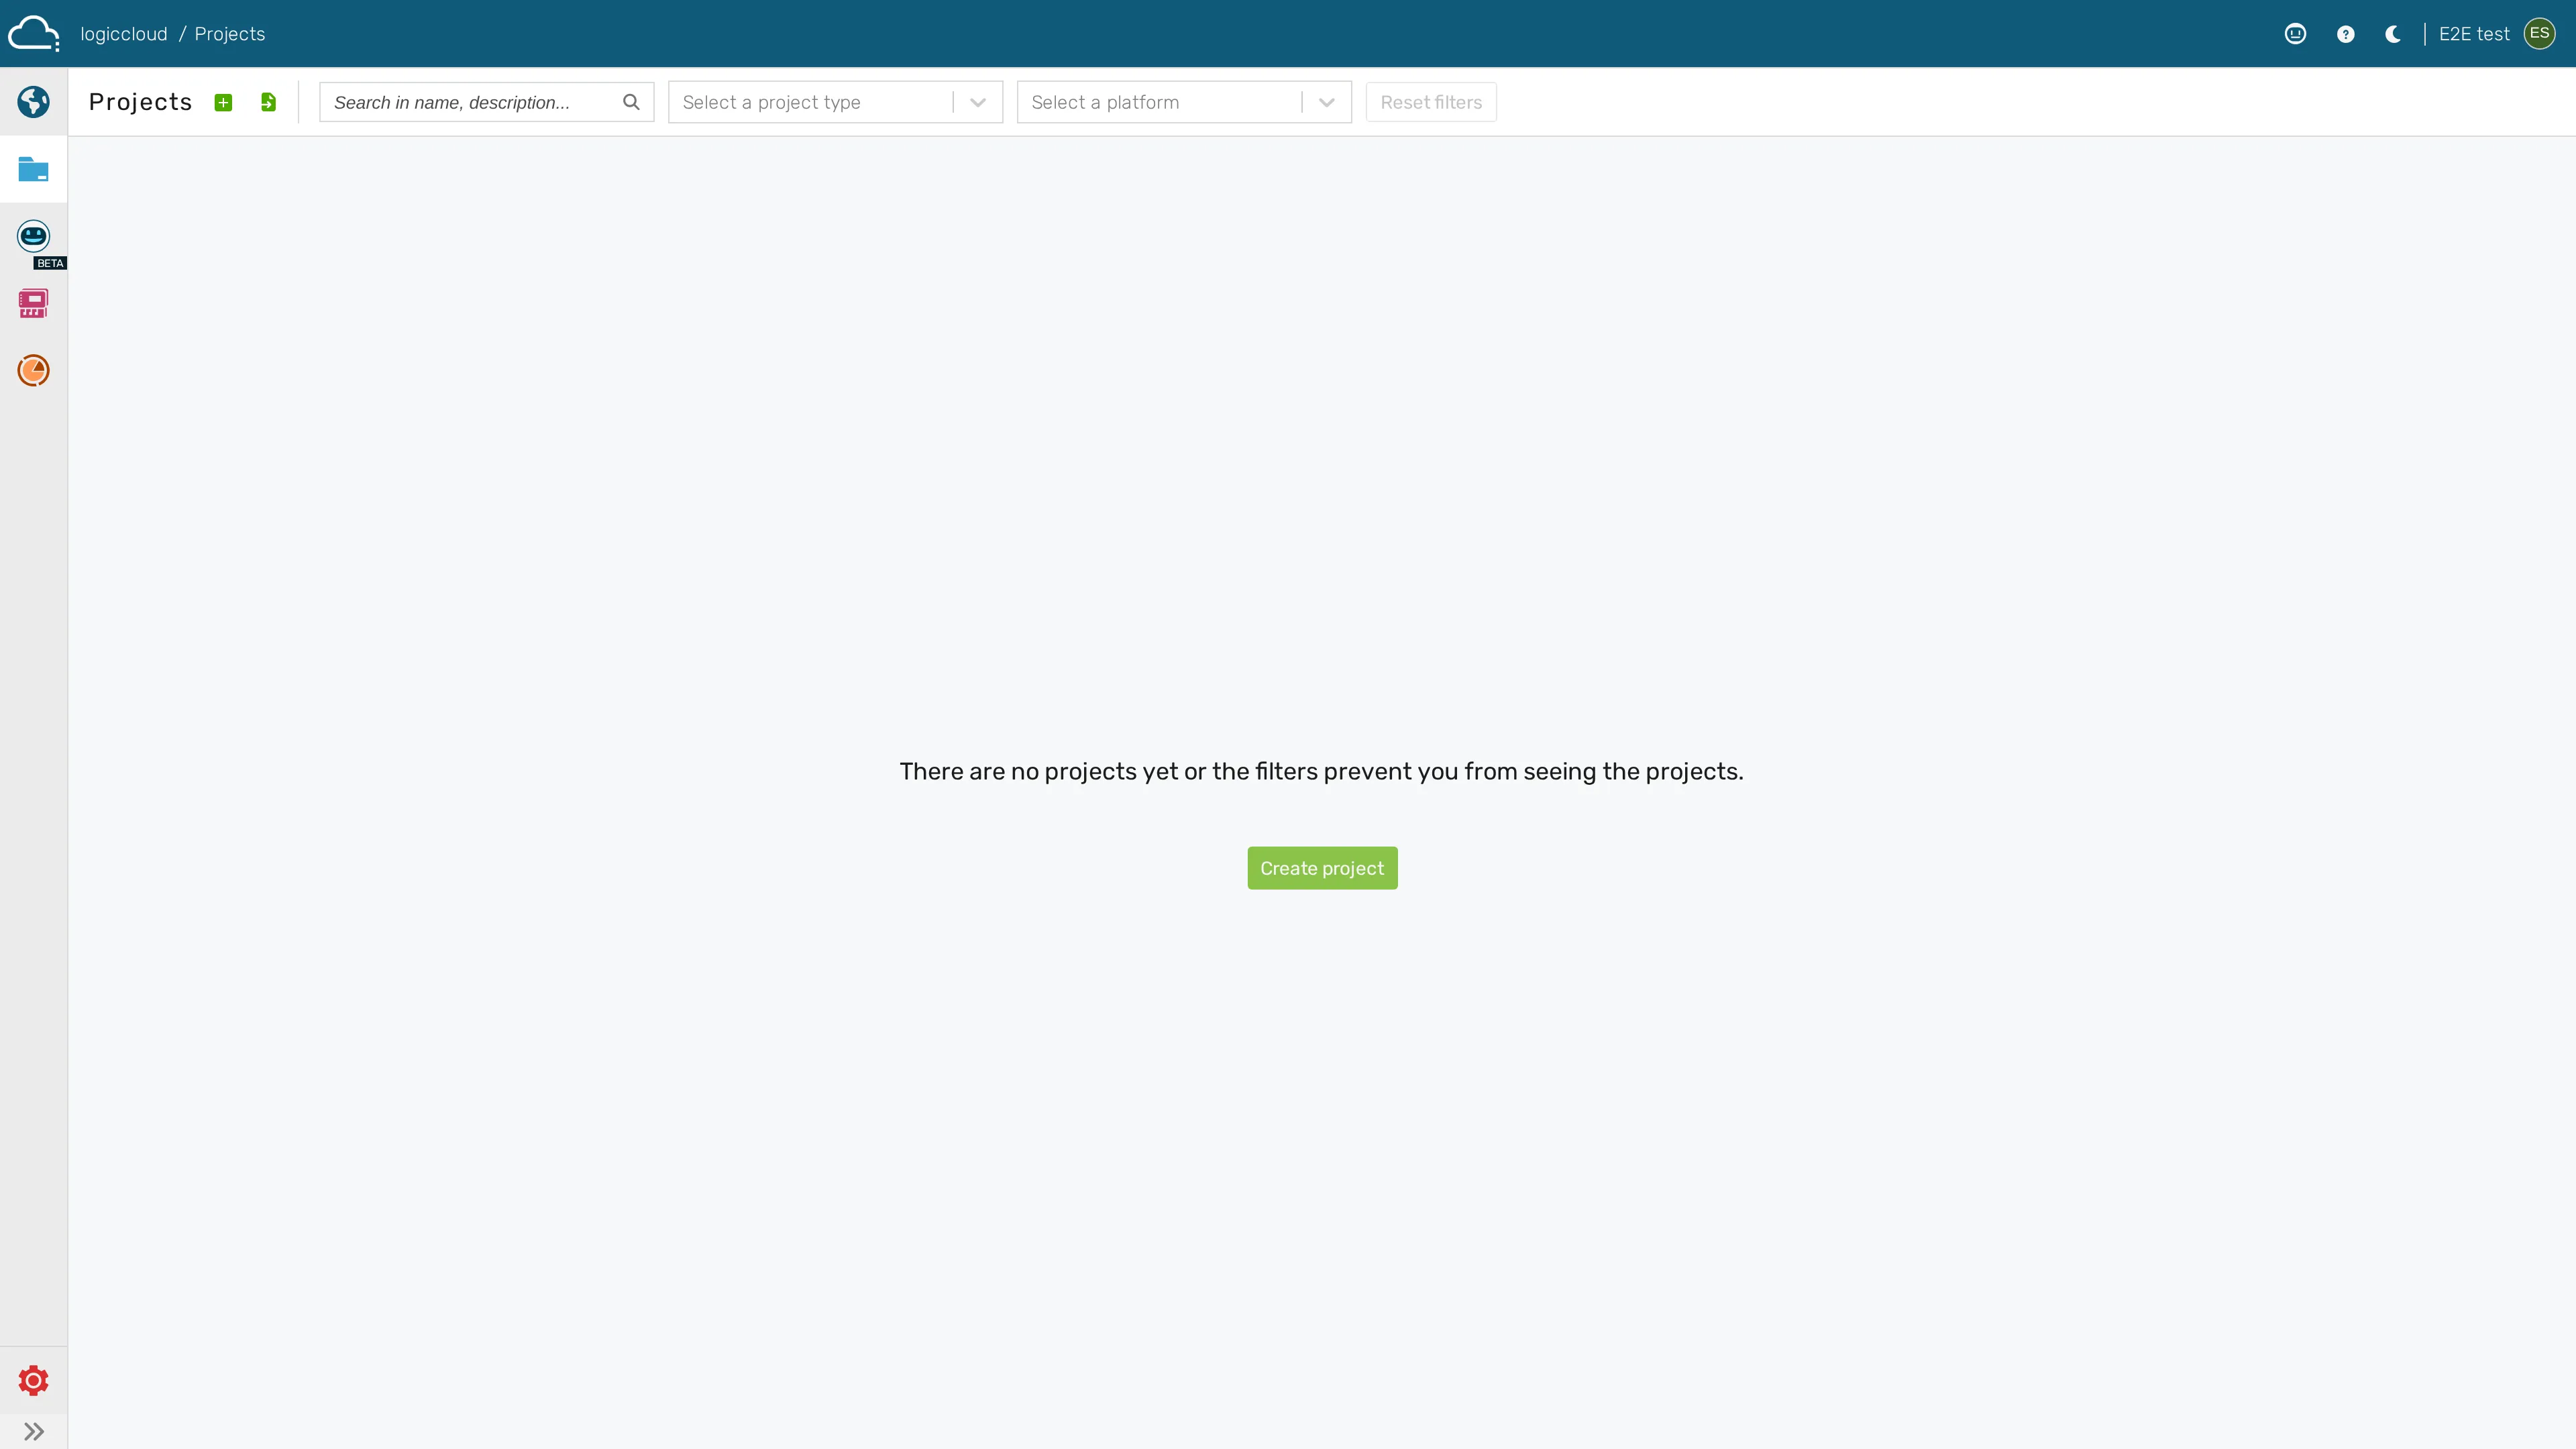
- Open Projects at
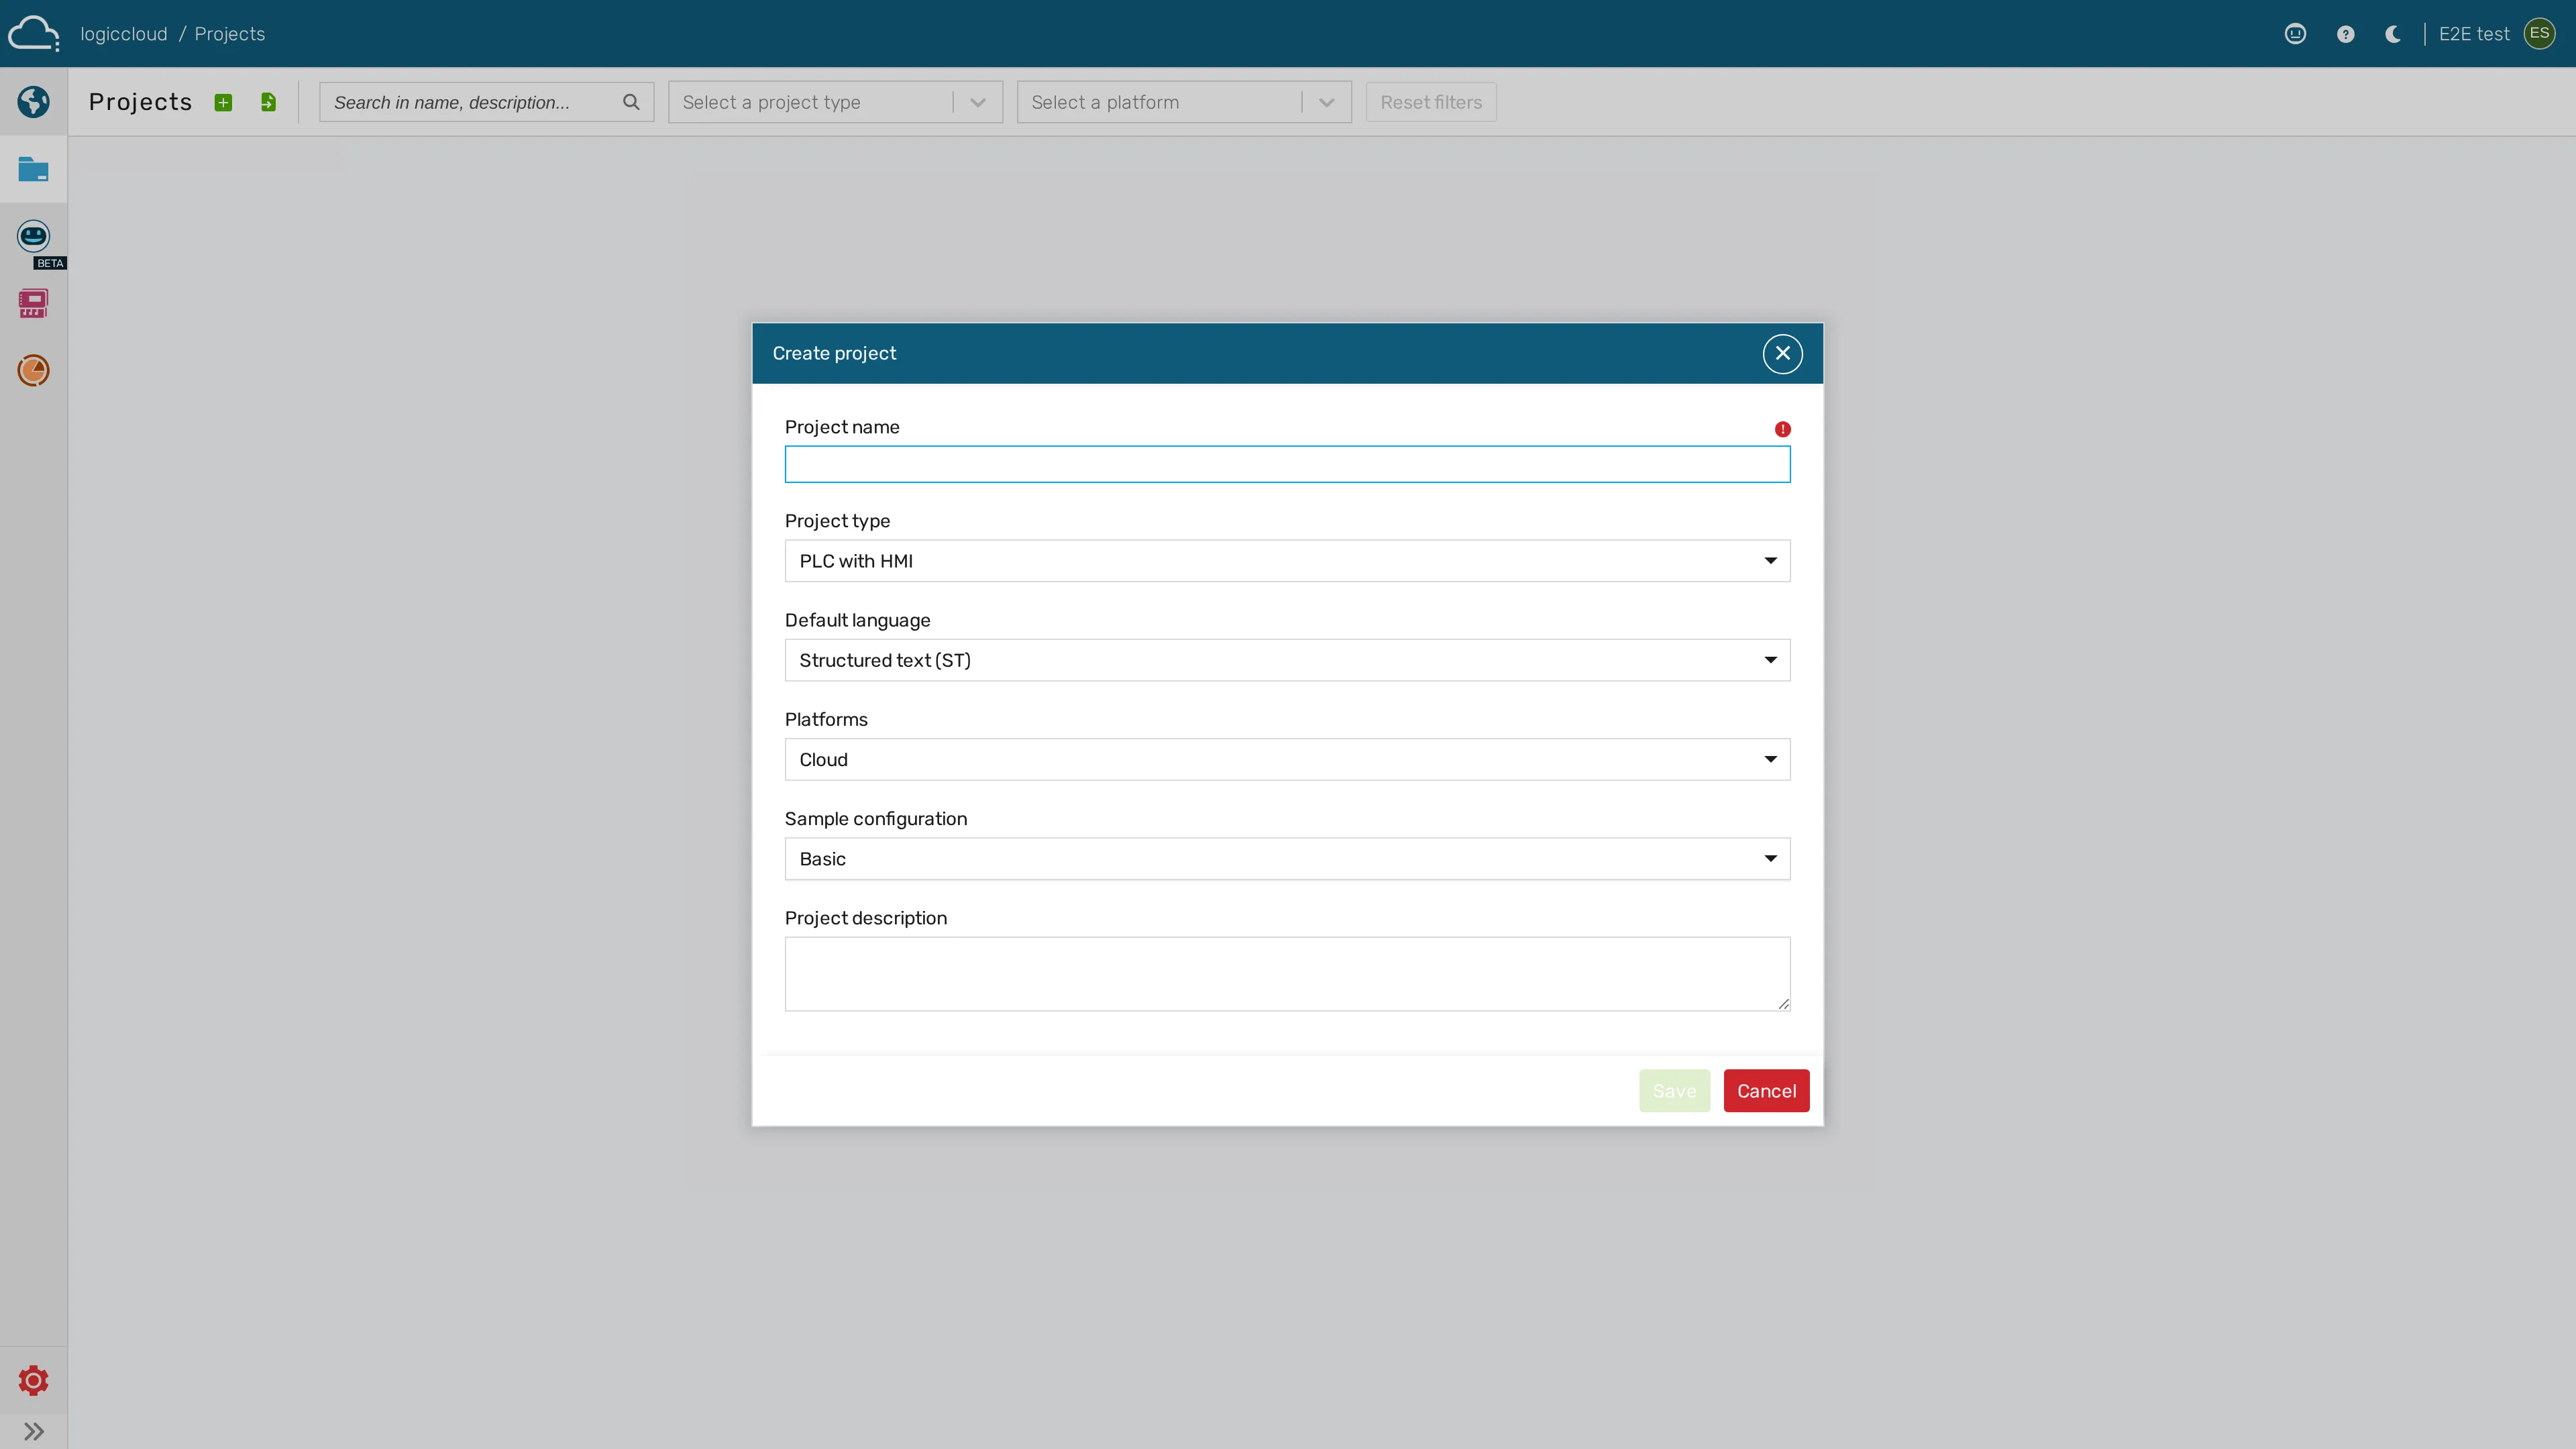
/portal/projects. - Create a new project and select project type PLC only; give it a name.
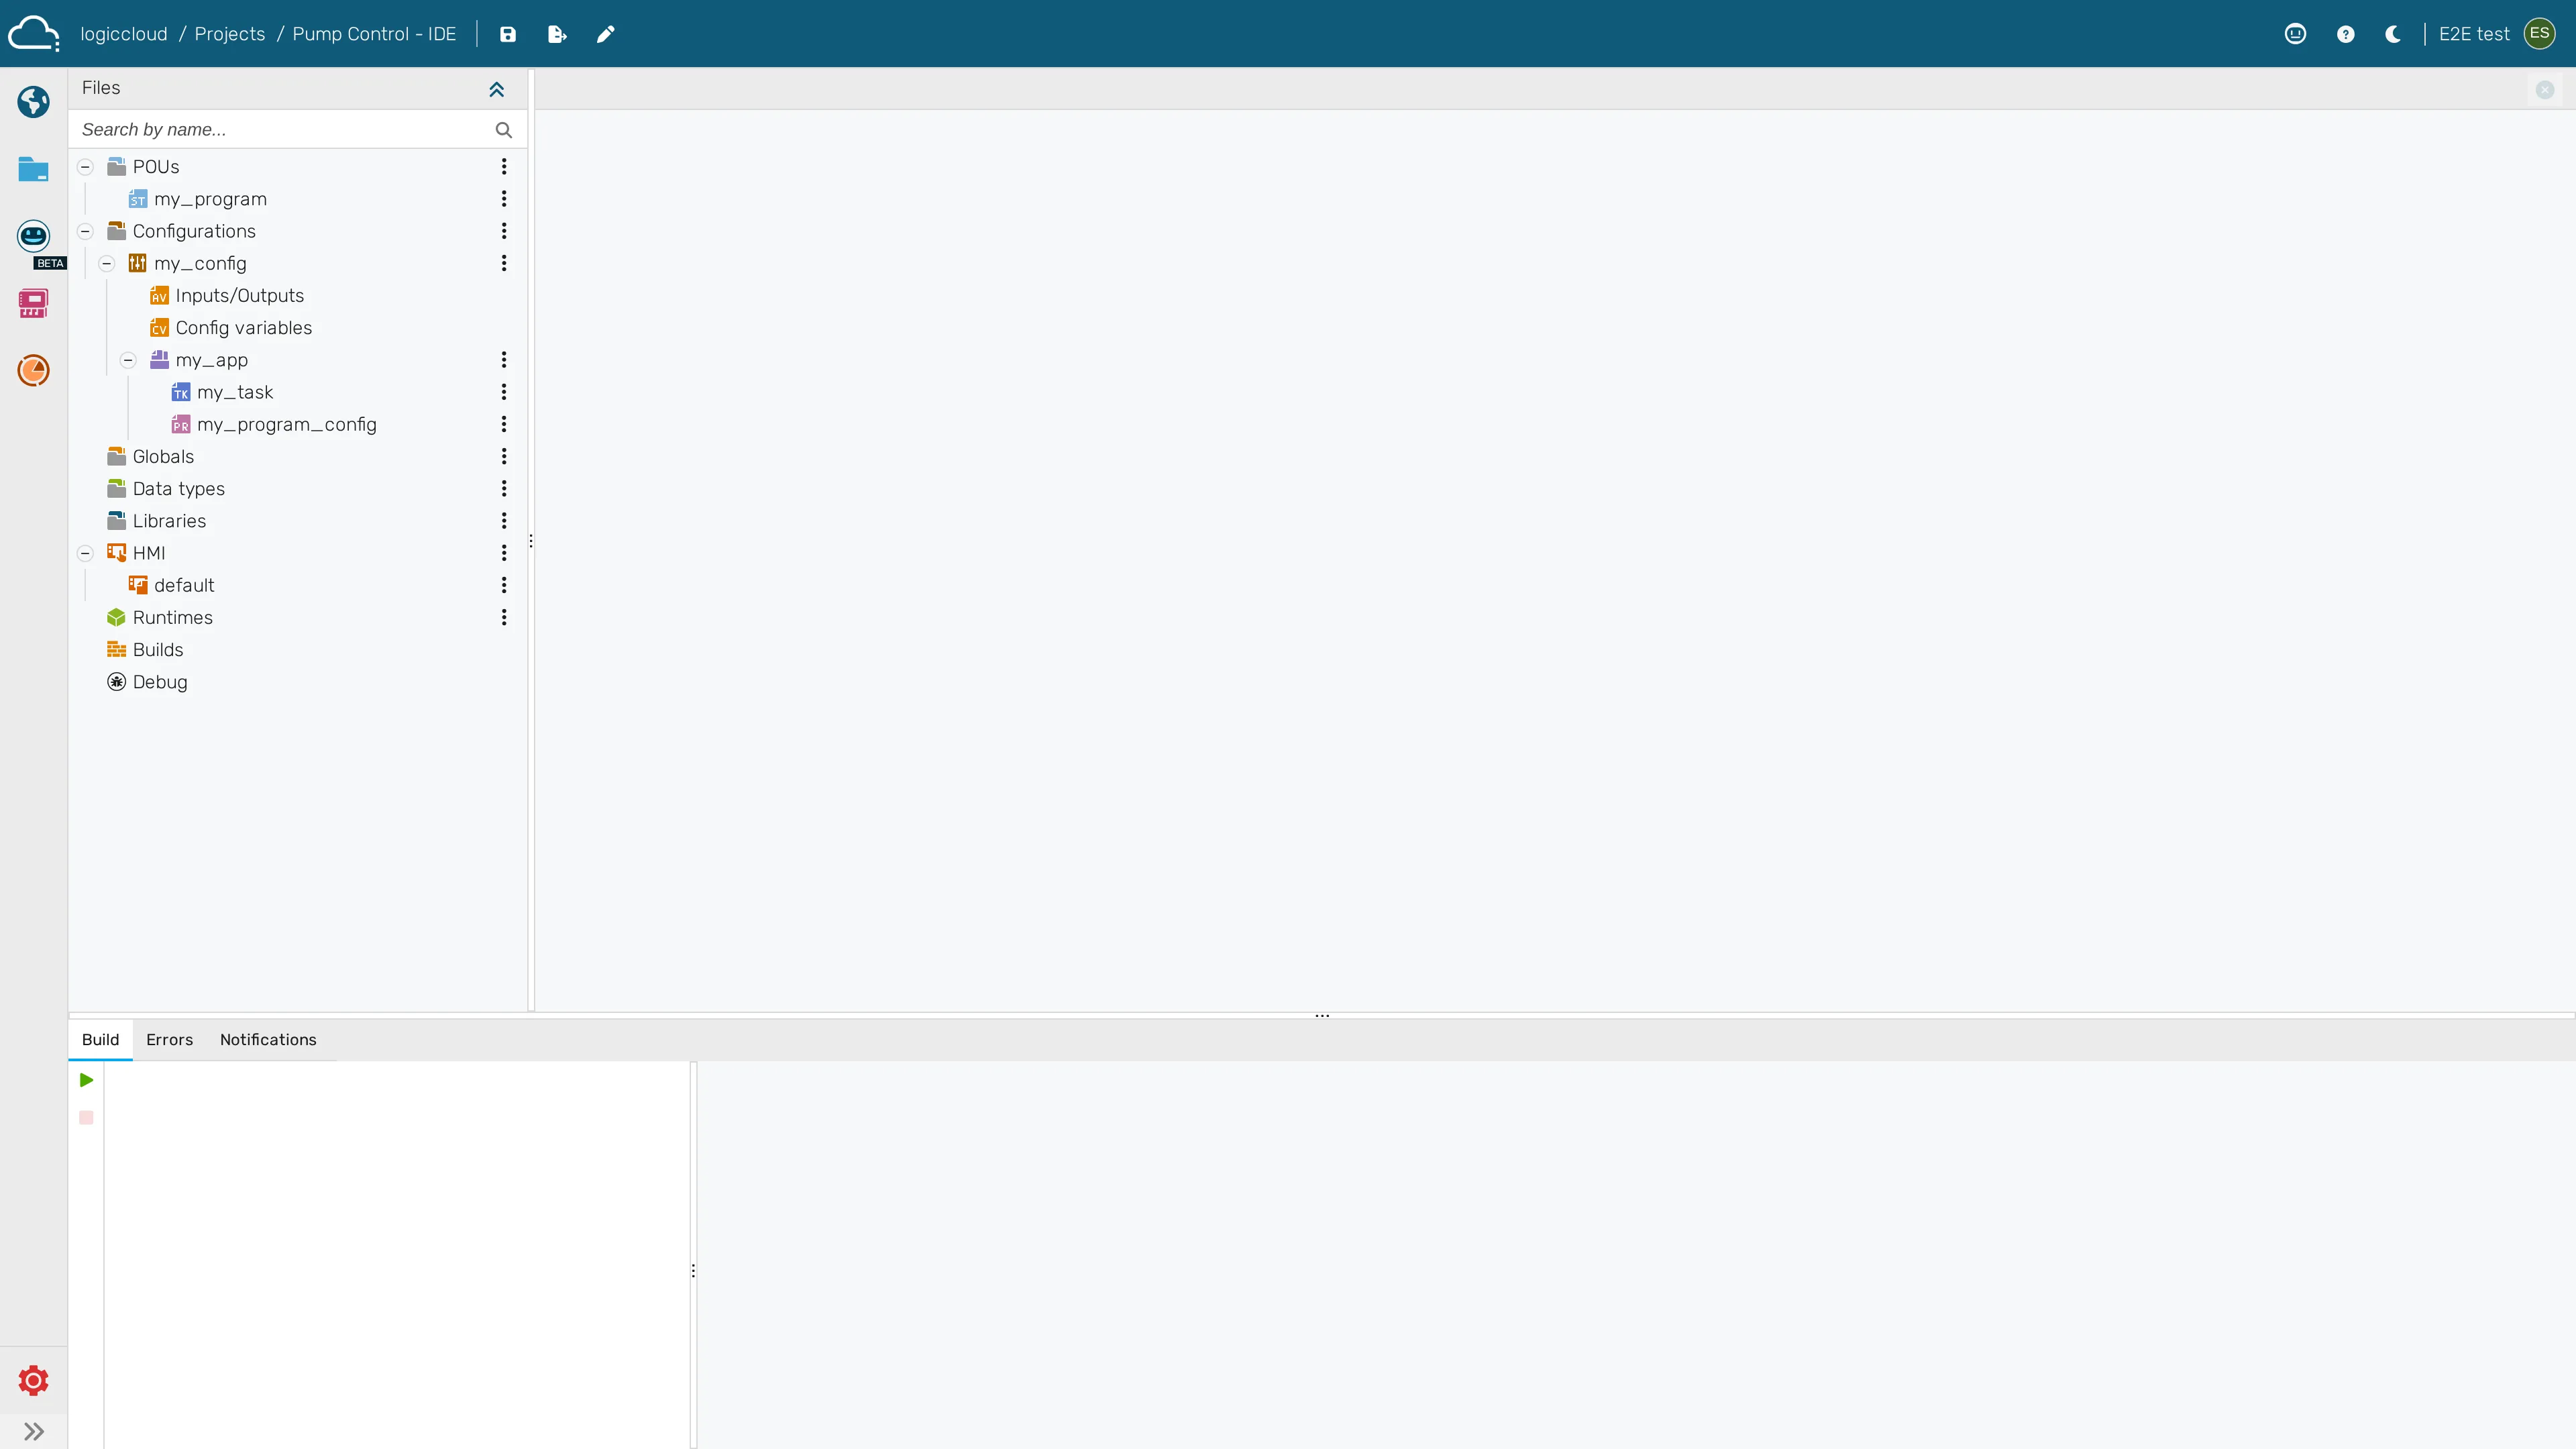
- Open the project in the IDE (
/portal/workspace/ide/:id) — see IDE overview. - In the project tree, add POUs (programs, function blocks, functions) and write your logic in the Structured Text editor.
- Configure tasks and program configurations under the project’s Configuration section.
- Build the project via the build action; check results in Builds
(
/portal/workspace/builds/:id).
-
Open Projects and start Create project
-
Configure the project type, language and platform
-
The new project opens in the IDE